Drywall Taping Levels Explained: Level 4 vs Level 5
The Gypsum Association defines six finish levels — but only two matter for most renovations.
Why levels exist at all
Drywall finish "level" is a North American industry standard from the Gypsum Association (GA-214). It defines six levels (0 through 5) so contractors and clients can specify the same finish without arguing. In real-world residential and commercial renovation, only Levels 4 and 5 are negotiated — anything below Level 4 is unfinished or industrial, and Level 5 is the premium upgrade. We finish to both standards as part of our taping and mudding service across the GTA.
The full ladder
- Level 0 — drywall hung, nothing else. Used in temporary construction.
- Level 1 — tape embedded in joint compound at seams. Used above ceilings or in service areas no one sees.
- Level 2 — tape coat plus skim of joint compound. Used in garages, warehouses, and surfaces that will get tile or panelling over them.
- Level 3 — additional coat of compound over tape and fasteners. Used where heavy texture (knockdown, popcorn) will be applied.
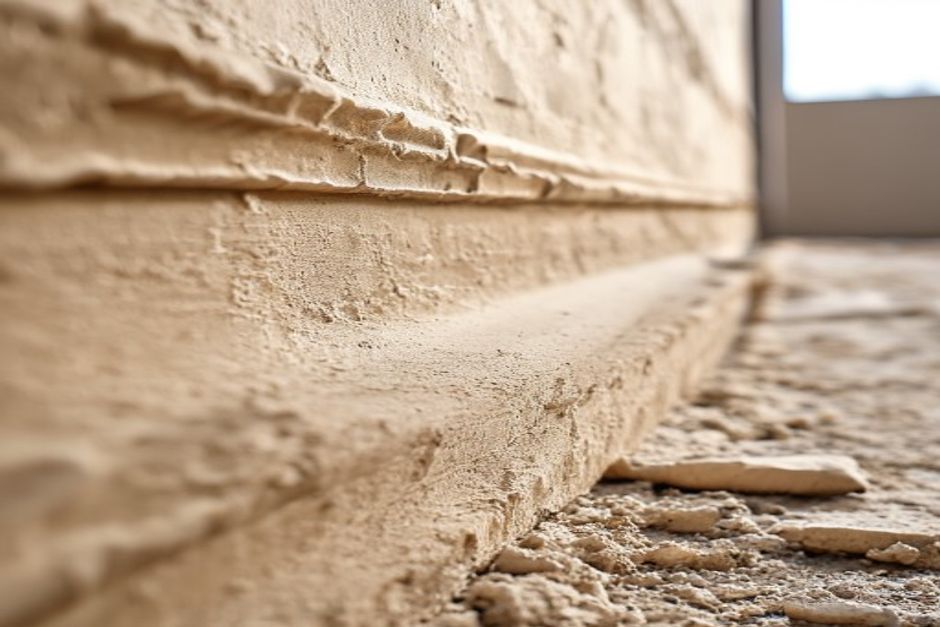
- Level 4 — three coats of compound (tape, fill, finish) sanded smooth. Standard for residential paint-ready walls.
- Level 5 — Level 4 plus a full skim coat of joint compound across the entire surface. Used where critical lighting or high-sheen paint demands a uniform substrate.
Level 4 — what 95% of GTA homes get
Level 4 is the residential standard for a reason — it covers seams and fasteners cleanly, and once primed with quality drywall primer, the wall takes flat or eggshell paint without showing the difference between mud and paper. We feather the finish coat 10–14 inches past the tape, sand, and prime. Painters take it from there. This is the default finish in the basements and bedrooms we tape every week across Brampton, Markham, and the rest of the GTA.
Level 5 — when it matters
Level 5 is not a quality upgrade. It is a problem-solver. The whole reason it exists is that under certain lighting and paint conditions, the difference in porosity between joint compound and drywall paper face becomes visible — even after primer and topcoat. The joint compound sucks up paint at a slightly different rate than the paper, creating a visible "telegraphing" of the seams when light hits at a low angle. We see this most often in big-window Oakville great rooms and Toronto condo penthouses — both prime Level 5 candidates.
Add a full skim coat across the entire wall and the whole surface becomes joint compound. Now the wall is uniform and the seams disappear, even under raking sunlight or LED downlighting at 30 degrees off the wall.
When you need Level 5
- Open-concept living rooms with large windows. Morning or afternoon sun rakes across the wall.
- Walls hit by feature pendants or spotlights. The lighting angle is the killer.
- High-sheen paint. Anything above eggshell — satin, semi-gloss, gloss enamel.
- Dark, saturated colours. The pigments highlight every surface variation.
- Feature walls and accent walls. Where any imperfection draws the eye.
- Hospitality and retail. Restaurants, hotels, boutique stores — they hate seam telegraphing.
When you do not need Level 5
- Closets, mechanical rooms, hallway walls.
- Bedrooms with diffused light only.
- Walls covered by tile, wallpaper, panelling, or built-ins.
- Flat-paint ceilings (Level 4 is plenty).
- Anywhere on a budget where the painting will be done in flat finish.
What Level 5 actually costs
In the GTA, expect Level 5 to add 15–25% to the taping cost — typically $0.40 to $0.80 per square foot extra. For a 2,500 sq ft renovation that is roughly $1,000–2,000 more. We almost always recommend doing Level 5 only in the rooms that warrant it (most often the main living room, dining room, and a bedroom feature wall) rather than every wall in the house. See the full numbers on our taping cost page, or the broader installation cost guide.
How to spot bad taping
Walk the room with the lights on, then off. Then walk it with a single bright lamp at a low angle to the wall. If you can see the seams under raking light, you have a Level 4 problem (probably feathered too narrow) or a Level 5 problem (probably not skim-coated where it should have been). Both are fixable through our drywall repair service, but it is much cheaper to specify the right level the first time. Our hiring a drywall contractor guide covers the questions to ask before you sign anything, and our thickness guide covers the board side of the same decision.
GTA Drywall and Taping handles drywall, taping, mudding, ceiling repair and renovations across all 19 GTA cities. Free written quotes.
Get a Free QuoteService areas
We cover this work across the entire GTA. A few of the cities our crews are in regularly:
See all 19 GTA cities we serve.
Related services
More from the blog
- Drywall Thickness Guide: 1/2 vs 5/8 vs Specialty Boards 2026-04-12 · 7 min
- Drywall vs Plaster: Which is Better in a GTA Renovation? 2026-03-20 · 8 min
- How to Hire a Drywall Contractor (and Avoid the Common Traps) 2026-03-05 · 9 min
- Drywall Cost Breakdown: Where Every Dollar Actually Goes 2026-02-18 · 8 min